Be Warned! This entry is a long one— but it begins to covers our most frequently asked question: “How did you downsize from your house to your Airstream?” It was one we often pondered in the months before we bought Silver’Rita, and one that fully consumed us in the weeks afterward. Because we learned so much from reading about others’ methods and thought processes we’ve decided to go into detail about what we did, why we did it, and how we did it.
Today you will get an overview of how our home is organized. Our trailer is a 2008 30 ft Classic. Here is a floor plan drawing:

Starting in the front of the trailer:
Here’s what the “living room” looks like:


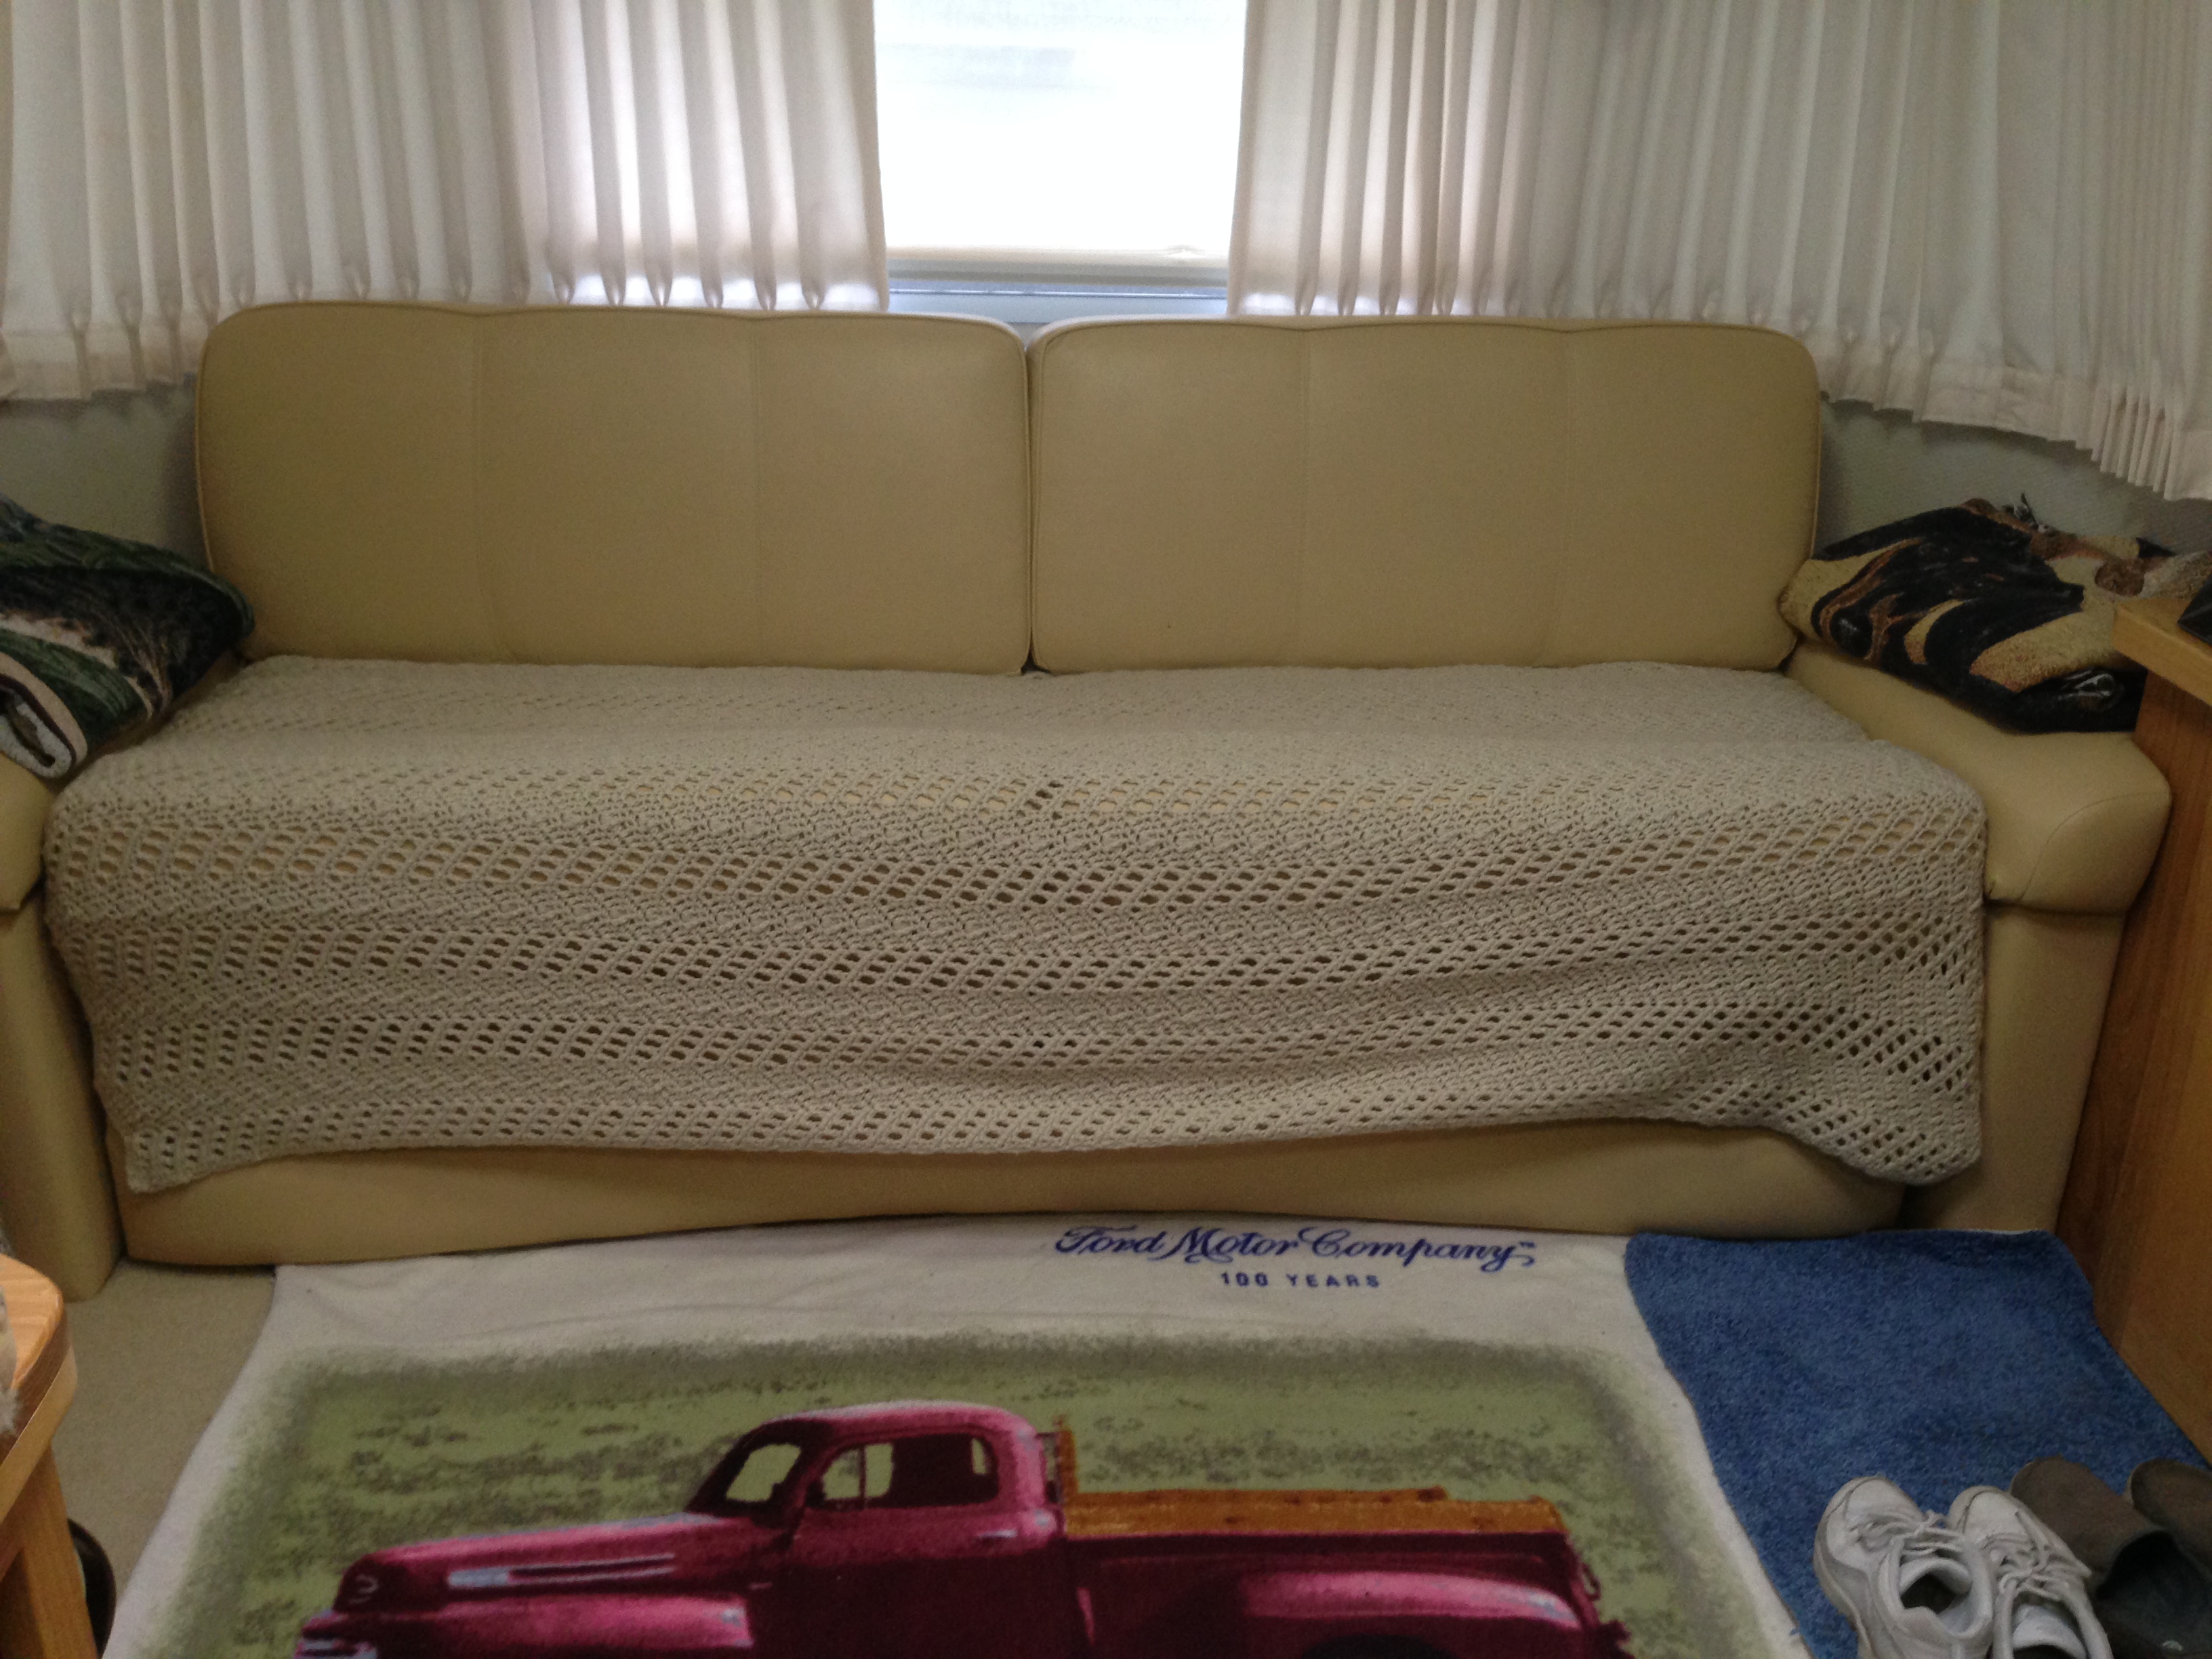
At the front of the trailer, above the sofa, are two cabinets. One of them already had audio-visual equipment in it: Sound system, CD/DVD player. We filled the remaining space with our DVD collection. Multiple binders house the classics and favorites, and one just for the grandkids.
The other cabinet holds our “office” including documents, financial records, office supplies. Most of the folders are for short-term storage and organization. Most documents are scanned and stored electronically if they need to be kept long-term.

Beneath the sofa is a long drawer- one side is taken up with electrical equipment. The rest of the drawer houses our office electronics: laptop, printer, Ipad, Ipod, camera, and all the cords and accessories that go with them.
Under each sofa arm is storage. One side houses the Airstream briefcase with all of the original documentation that came with the trailer when it was first sold. We have added documentation about anything we’ve added, repaired or modified. The other arm stores overflow pantry items (when I buy too much at the grocery store!) It also is the designated indoor storage area for our outdoor table accessories, when weather prevents us from setting up our outdoor living area.
Behind the sofa is where extra linens (sheets, blankets, large beach towels) and winter coats are stored. Vacuum storage bags reduce the bulk; they also make it easier for us to pull them out when we need to pull the sofa out into a bed for company. This is also where our US flag and its pole live when it is not mounted outside.
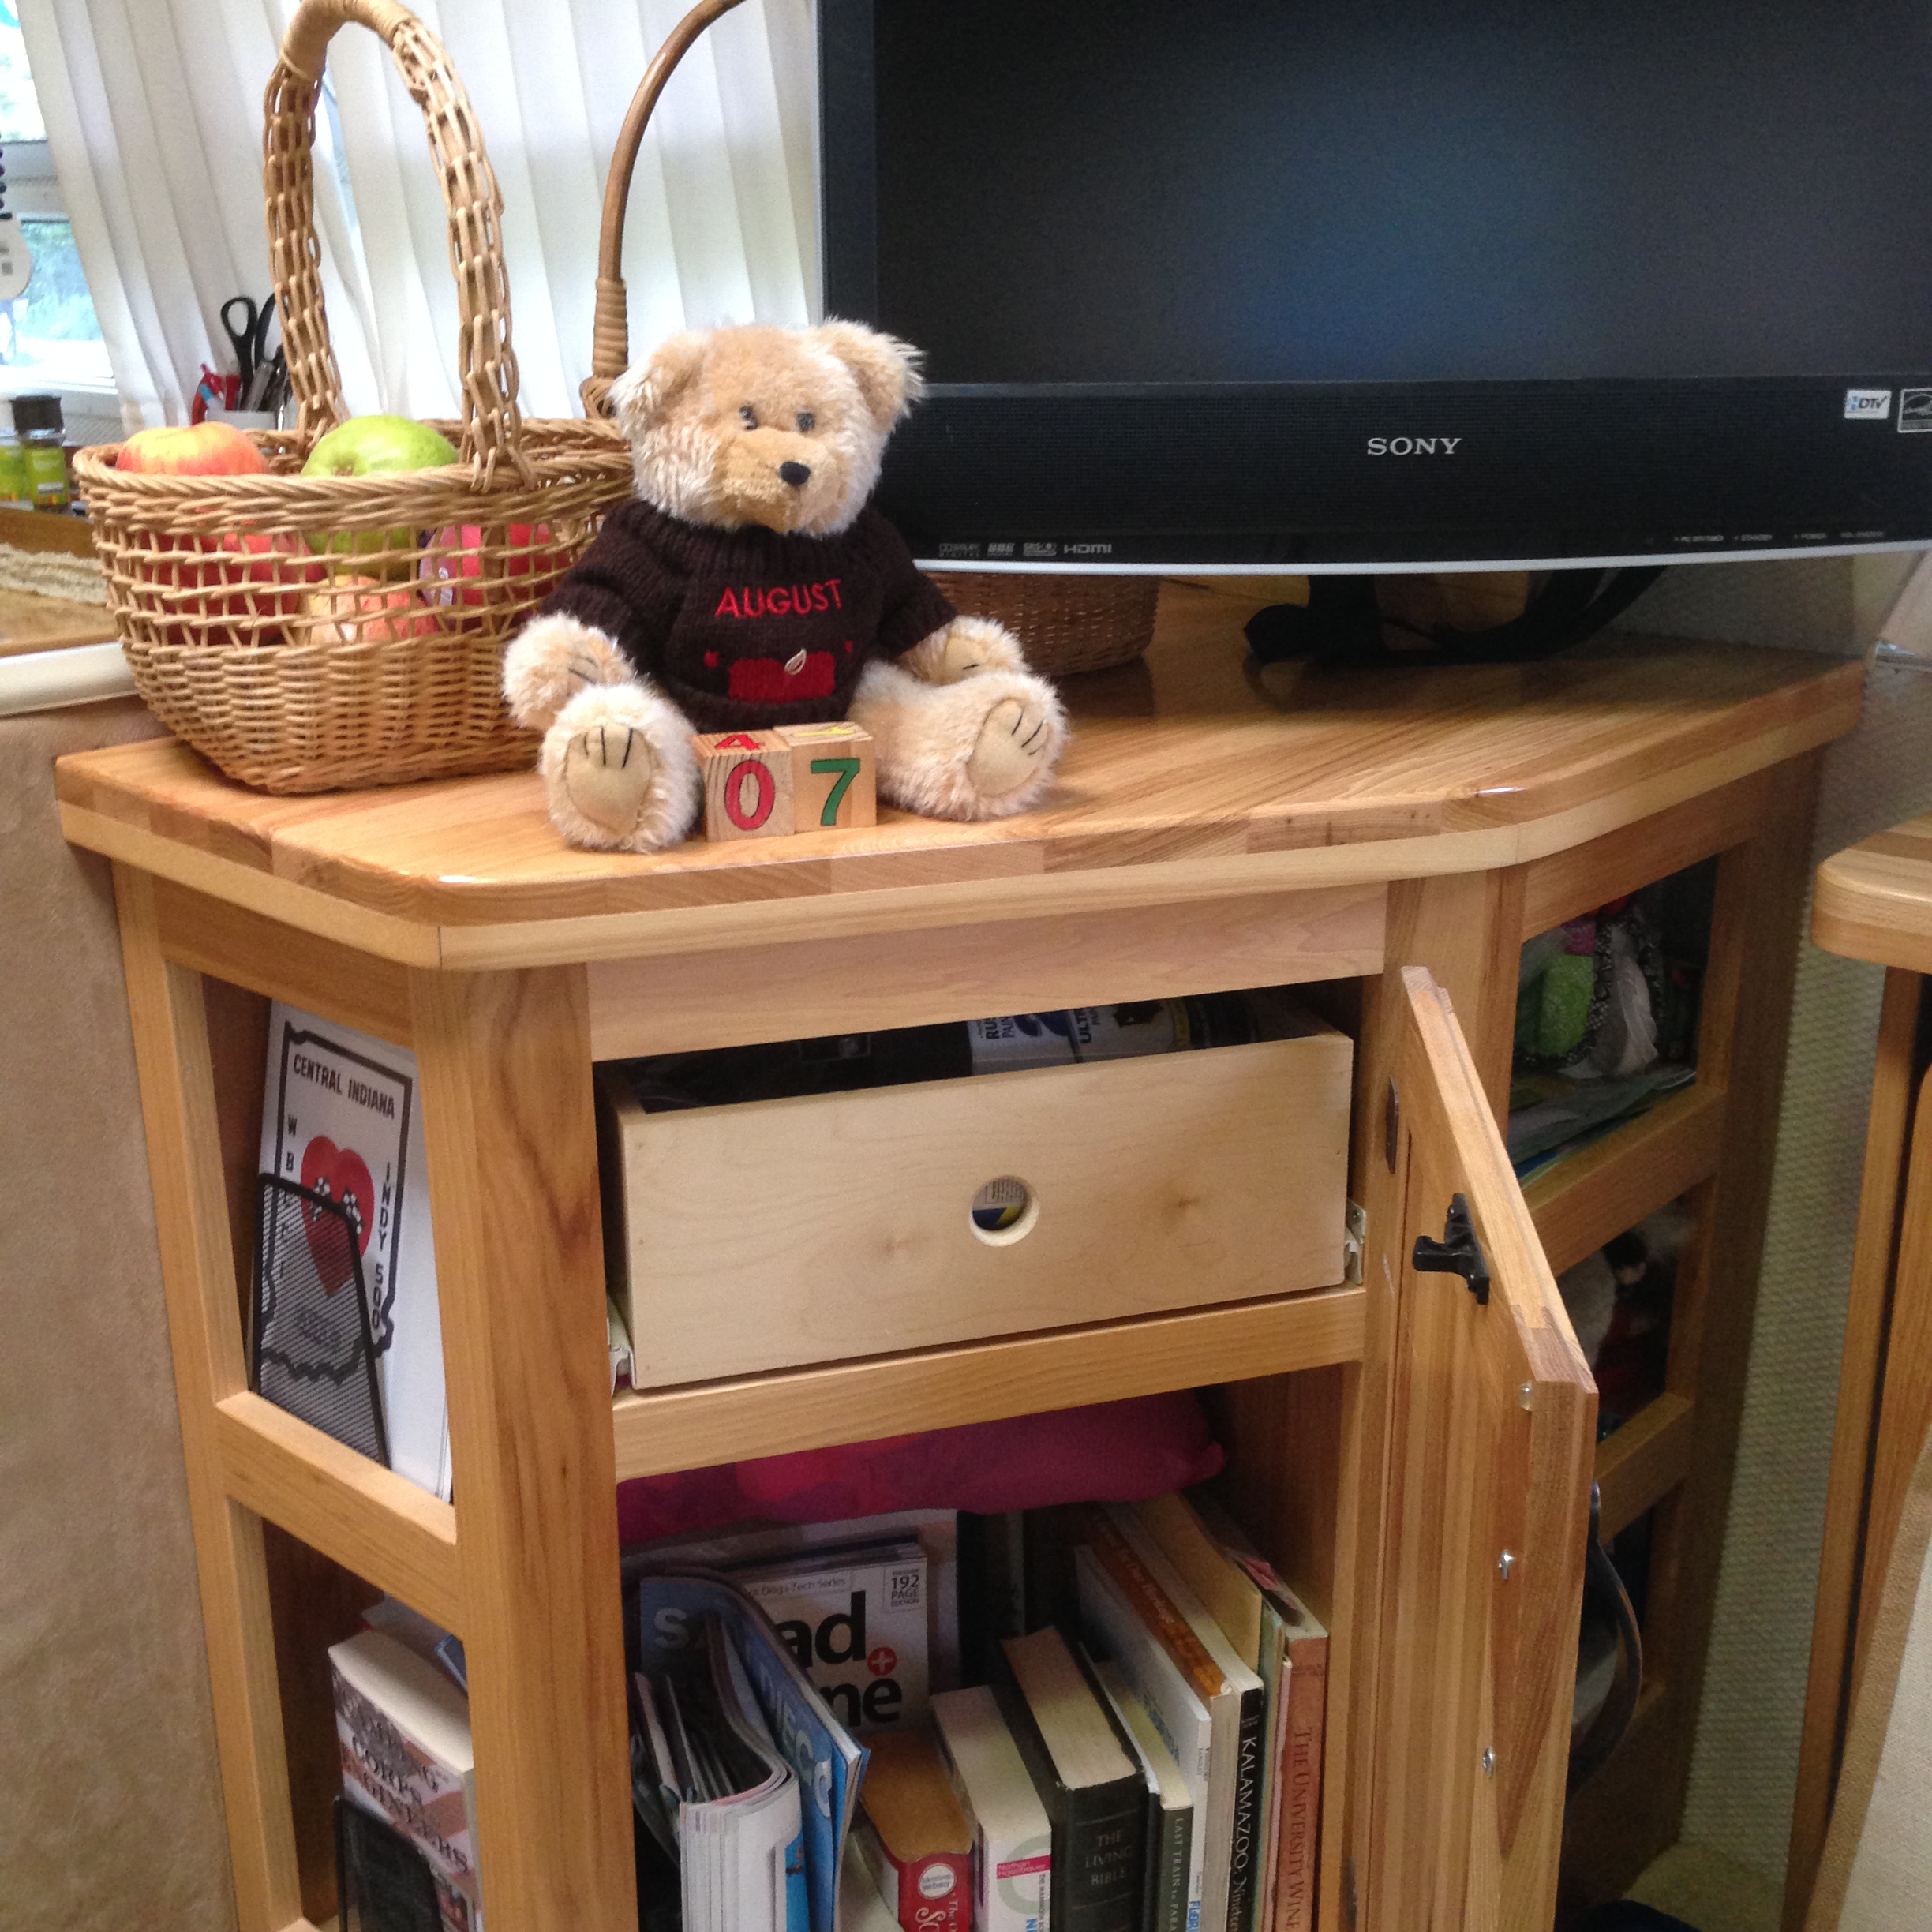
One of the features we like best about the 30 ft floor plan, is the entertainment center that clearly separates the living room area from the dining/galley area. We use the storage in this center for a variety of items.
The top cabinet has been put into service as wine/spirits cabinet, using pieces from an under cabinet storage system we had in our house. It holds up to 9 wine/liquor bottles along with drink ware and accessories needed to enjoy them.
In the lower section, we use the three right-side shelves for games and entertainment items: one for playing cards, games and puzzles for us on rainy days, the other two store games, toys, and craft materials for granddaughters’ visits. When they’re here, they know exactly where their “stuff” is, and know they can get into it without asking permission. The two open shelves on the left side hold several camping directories and guidebooks. Inside the closed cabinet we have all the books that we have brought with us; the drawer inside the cabinet holds souvenir keepsakes/scrapbook type items: our national parks passbook, collectible pins/badges/coins, etc.

The galley/dining area is nearly 100% dedicated to food and food prep. We eat out rarely; we enjoy cooking, both inside and out. When weather and timing permit, we cook outside; evening meals are cooked outside, usually over a fire. We cook weekday breakfasts inside on the gas stove, but on the weekend you’ll most likely find us taking our time making coffee and cooking breakfast over the fire. Deciding what kitchen items to bring from the house was probably the most difficult decision during our transition from the house to the Airstream. I will discuss the galley in greater detail in my next post, but the basic ideas were: above the galley: one cabinet with enough dishes/glassware to serve six ( plastic to reduce breakage potential) one cabinet for staple foods; one cabinet for nonperishable food. Above the dinette: variety of mixing/storage and food prep dishes, pitcher, bake ware, a very small selection of small kitchen appliances. There are two large drawers under the dinette benches. One holds all of our cooking pans and skillets, mostly cast iron; the other holds overflow non-perishable foods and staple foods.


Items on the kitchen counter are easily stored in the sink when we are travelling. We no longer have a built in microwave. When the original one quit working, we replaced it with a small countertop model, which leaves room on the sides and on top for additional temporary storage. A tension rod holds the curtain, and an additional tension rod is used to hold the microwave in place when we travel.
Under the sink houses a small waste basket, all cleaning supplies, the dog’s food and supplies. The small drawer in this cabinet holds the small oven bake ware I purchased to better fit the RV oven: cookie sheet, brownie pan, mini-muffin pan, small loaf pan. One of the two drawers under the microwave holds the silver and all of the cooking utensils and knives we use. The bottom drawer is our miscellaneous gadget drawer, matches, lighters, batteries, bulbs, spare parts, hooks, screws, clips, cords; you know the stuff. I frequently re-organize this drawer as the contents change. The storage space under the stove holds a small toolkit for indoor quick fixes that don’t warrant getting the big tool box out of the truck. The drawer under the refrigerator is my paper product storage area. Rolls of foil, wax paper, parchment and plastic wrap, zip storage bags, paper towels, napkins all fit into this drawer. The secret to fitting it all in is taking them all out of their boxes. Watch for my next post with details on making the most of kitchen storage.
Between the galley and the bathroom is the wardrobe. Tom keeps his work clothes here. (only three more months to work, then he’ll recycle some of them!)) We each have one formal suit/dress for dress-up occasions, a few other shirts better suited for hanging than folding. Also in the wardrobe: laundry supplies, small ironing board and iron, hand vac, broom/dustpan, picnic backpack, folding beach chairs, an electronic keyboard, extra tote bags and extra linens. We do have a large number of souvenir tote bags, collected as souvenirs from our various travels. We use them throughout the trailer to store items, and to provide “green” totes for shopping. Besides being practical, they keep memories fresh from our past adventures!
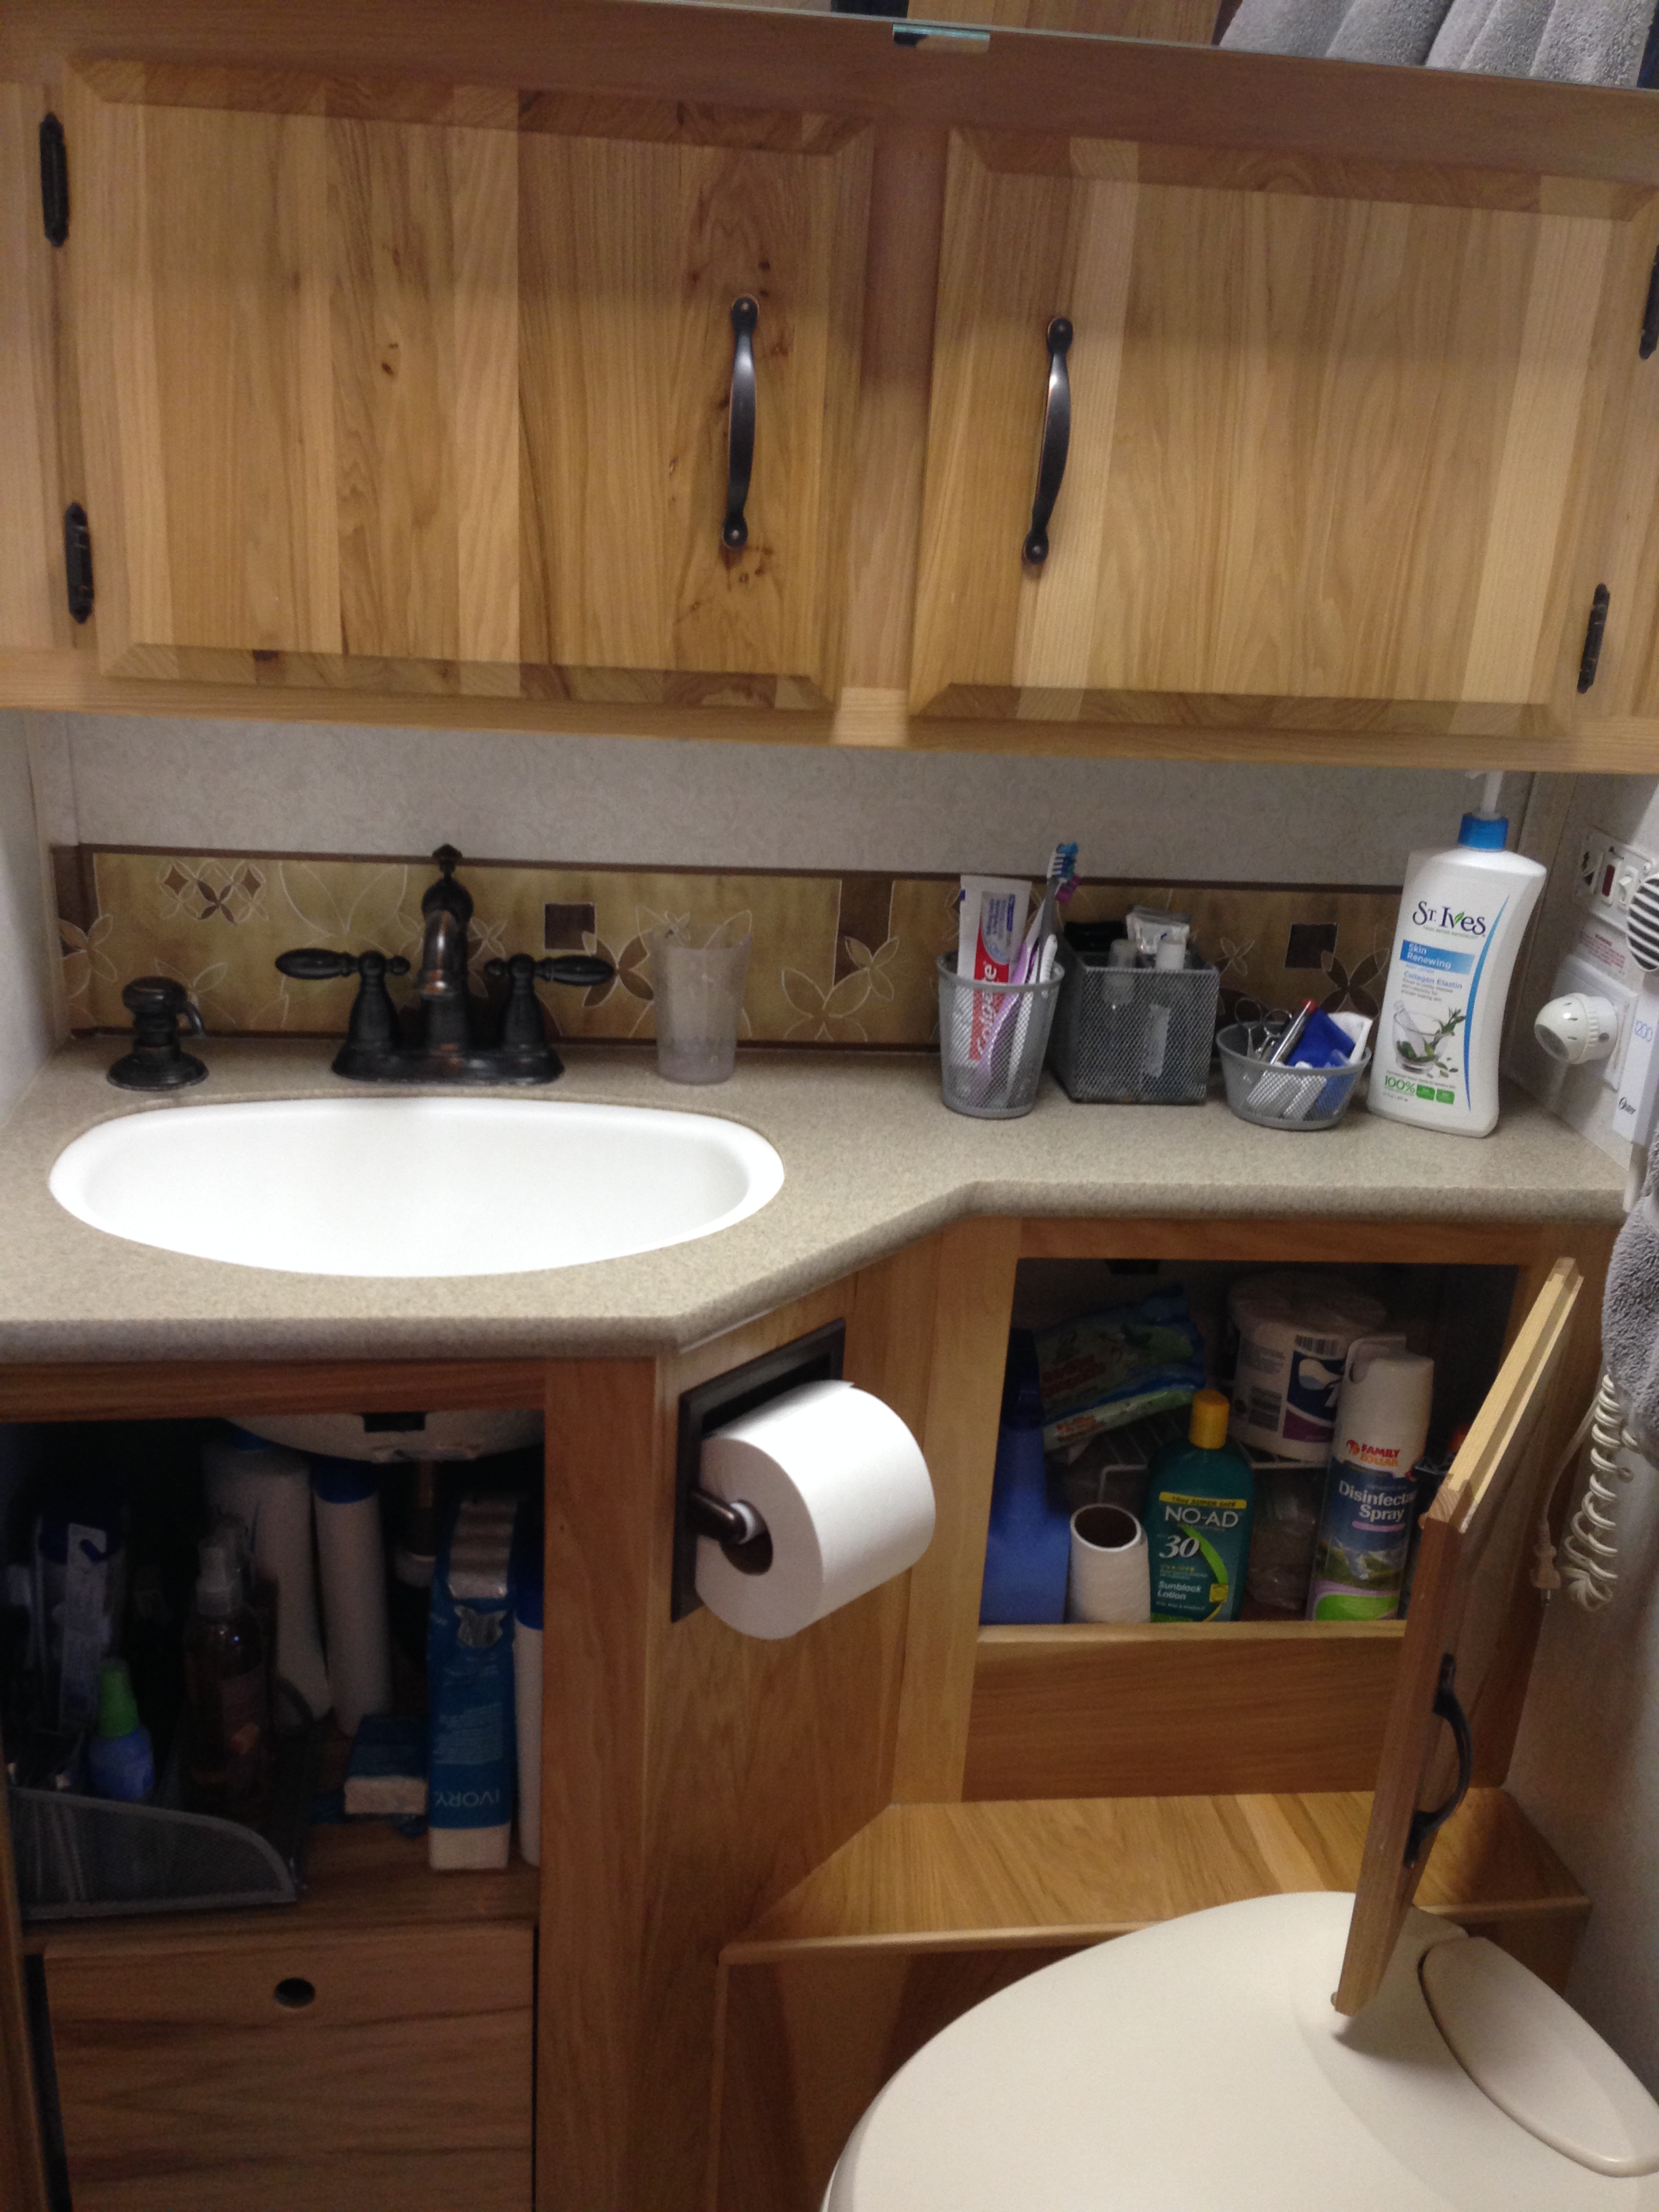 In the bathroom in addition to toiletries, medicines, and toilet tissue, we keep items such as insect repellant, sunscreen and supplies needed for cleaning the bathroom and treating the holding tanks.
A few metal baskets help keep things in order under the sink and on the countertop. As in the kitchen, items on the counter move to the sink for travel.
We like the 30 ft classic bedroom layout-the combination night stand/mini wardrobes work well for us. Folded shirts stack well and the reach in nightstand are very convenient In addition, there are three large drawers under the bed: one on each side and one at the end. We use the drawers and the mini wardrobes to store our clothes, except the few things that hang in the wardrobe. Shoes in bags hang along the wall (3M command strips) along with my sewing supply totes. You can’t see the laundry bags, but there’s one for lights and one for darks in the corners near the foot of the bed. Mesh bags are easily moveable and easy to tote to the laundry on wash day! The quilt on the bed is made from souvenir T-shirt quilts. As we recycle shirts, the designs are kept to make quilts, pillows or storage bags- another way to keep the memories alive, but in a new way!


Under the bed, in space that is accessible from outside, as well as by lifting the bed, we keep most of our outdoor living accessories: chairs, tables, canopy, stove, lights, etc – but that’s info for another post: what goes into all of the outside storage areas, and what tools we carry in the truck.
Well, you’ve had a little “walk-through” our home. Please come back soon for an in-depth look at the kitchen and the ways we’ve maximized its storage.

Love your organization! Sounds and looks like you have it down!!